


Hiveon OS deploy PXE - deploy hundreds of rigs
Introduction
If you own a large farm with hundreds or thousands of GPU rigs and you are planning to migrate to Hiveon OS, Hiveon OS Deploy PXE can significantly reduce migration time and gain complete control over the deployment process. Hiveon OS Deploy uses PXE Network Boot technology to deploy Hiveon OS to your rigs.
System and hardware requirements:
- Any computer running Ubuntu 16.04 (tested)
- Dual-core processor
- Static IP address over cable Ethernet
- At least 4 Gb of RAM
- At least 6 Gb of free disk space
You must set up a DHCP server by adding next-server option to CLONEDEPLOY_SERVER_IP (static IP address of host where you install Hiveon OS Deploy PXE). Read more in “Network infrastructure configuration” section.
Network infrastructure configuration
Depending on the configuration of your local network, the clients in your network receive IP addresses and other necessary information either dynamically using DHCP or configured statically on each client.
LAN with dynamic IP addresses
This is the default case or when you plan to setup a DHCP server anywhere in your network. Please note you should provide a set of dhcp-options:
- dhcp-server ip address. Example: 192.168.1.1
- dhcp network address. Example: 192.168.1.0
- dhcp addresses range OR network mask. Example: 192.168.1.10-192.168.1.200 OR 192.168.1.0/24 (NOTE: different tools and hardware (routers) has it own syntax)
- dhcp broadcast address. Example: 192.168.1.255
- gateway (also known as router in dnsmasq). Example: 192.168.1.1
- tftp-root (your tftp folder for storing kernels, initrds, pxe configs and binaries). Example: /tftp
- dhcp-boot (PXE binary file PATH relative to tftp-root). Must be
,,CLONEDEPLOY_SERVER_IP - dns-server
- next-server (dhcp option 66)
NOTE: you must specify next-server with your CloneDeployServer IP address. It’s the only option that you must define if you have a DHCP-server already running.
By default, most routers have predefined dhcp options and the ability to change them, so you must specify next-server option only.
LAN with static IP addresses
In case of STATIC network: you must configure dhcp-server and tftp-server anywhere in your network to use PXE technology. For example, you could use dnsmasq - lightweight DNS, DHCP and TFTP server.
DHCP configuration examples
See examples of configuration files in the examples/ folder
- dnsmasq: example/dnsmasq.conf
- dnsmasq : examples/same-server.dnsmasq.conf - all-in-one config example dhcp и deploy server on the same computer
Installation of deploy server
Installation procedure
All installation commands and scripts in shell must be executed with root credentials by using sudo command.
- Download the installation package
apt update && apt install wget zip unzip -y cd /opt && wget https://download.hiveos.farm/hivedeploy.zip && unzip hivedeploy.zip && cd cd_package
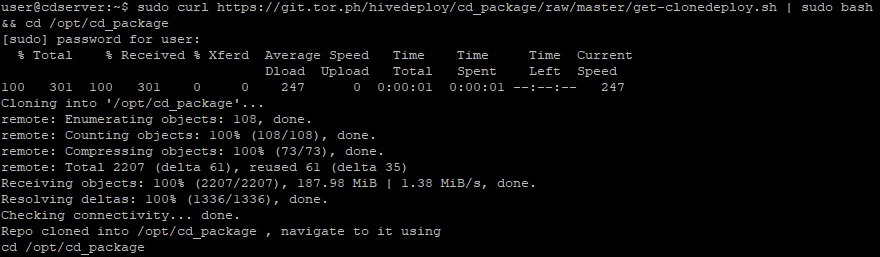
- Run the installation script
./install-ubuntu.sh -f
It will start the installation procedure by downloading and installing the necessary packages. During the installation, you should answer some questions. Follow these steps:
3.1. Enter the Deploy server’s IP address in prompt window

Let’s assume that our host has IP address 192.168.1.2 then you will see:


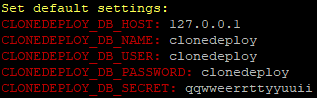
3.2. Prompt default DB connection string with pressing “Enter”

Default settings will be used if no custom DB is given.
3.3. Wait until mysql-server sets up, then prompt default root password by empty string (Press Enter).
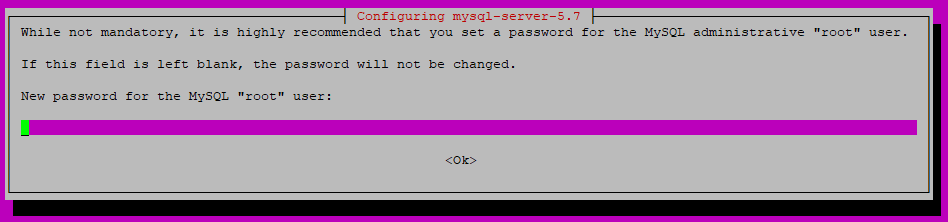 This screen can appear several times during this step.
3.4. Enter SMB passwords for read-only and read-write roles: password


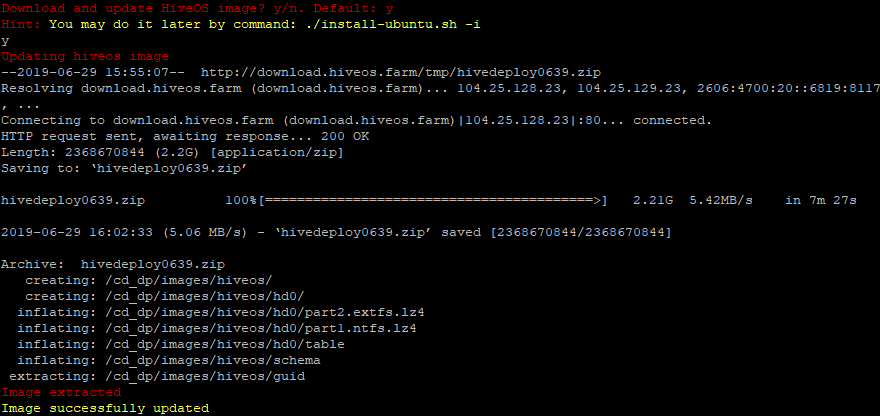
3.5. Download and update Hiveon OS image
The latest stable Hiveon OS image will be downloaded and extracted by default.
3.6. Wait until the installation finishes the setup and then confirm reboot in the prompt window by entering “y”.
- The following steps are done through the web interface.
Browse to http://<server_ip>/clonedeploy for example if your server has ip address 192.168.1.2 then type in browser with http://192.168.1.2/clonedeploy and you will see the login screen:
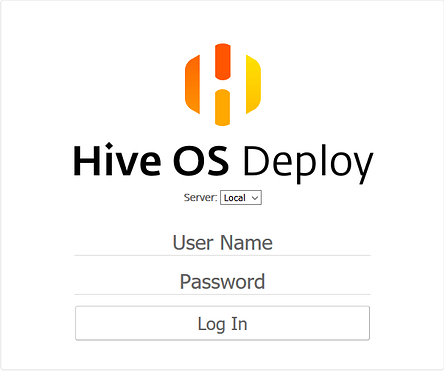
Login with default credentials:
Login: admin
Password: admin
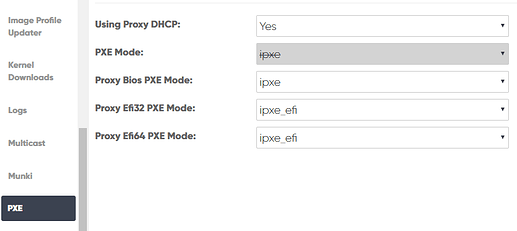
- Go to Admin → PXE and press Update PXE settings
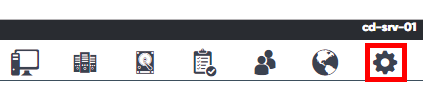

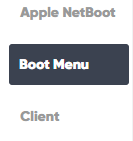
- Go to Admin → “Boot menu” and press “Create Boot Files”

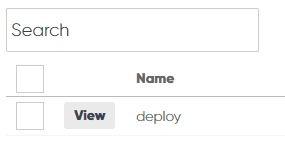
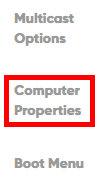
- Go to Groups → deploy → Computer Properties.
Change the following fields:
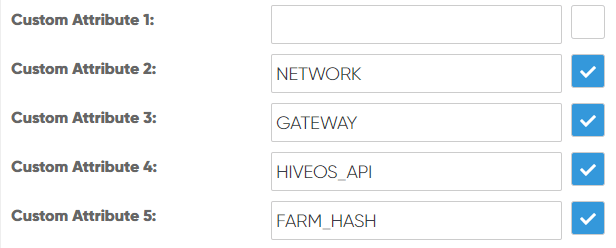
- Custom Attribute 2 - NETWORK. Enter your network with netmask, for example 192.168.1.0/24
- Custom Attribute 3 - GATEWAY. Enter the gateway, for example 192.168.1.1
- Custom Attribute 4 - HIVEOS_API. Enter hiveos-api url, for example http://api.hiveos.farm
- Custom Attribute 5 - FARM_HASH. Enter your farm hash, for example 0a188b553e98efba264e7bc61dee
Note: Make sure the checkboxes near these fields are enabled.
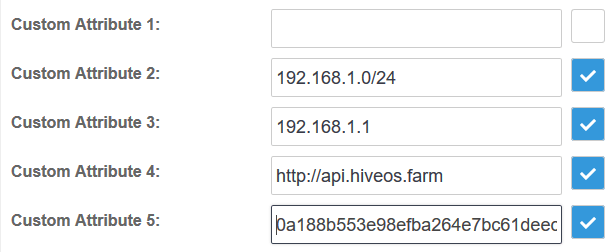
and click on the “Update Properties” button

Now the server part installation is over.
Checking installation and services
Deploy server contains several packages including dhcp proxy, apache2, mysql and tftpd-hpa. Apache2 and MySQL - used for the web interface and tftpd-hpa used for TFTP server. So if you want to check the installation and make sure these services are running properly, use the following commands:
for DHCP Proxy: service cd_proxy status
for Apache2: service apache2 status
for MySQL server: service mysql status
for TFTP server: service tftpd-hpa status
Deploy Rigs
Prepare to Deploy
You can organize your network according to certain rules.
- Assign rig name with MAC address
- Assign rig name with MAC address and IP address
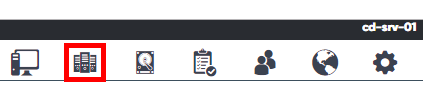
You can import a prepared rigs list. Go to “Computers”

and then click the “Upload” button

File format is: rig-001 08:00:27:4A:29:BB 192.168.1.19
Check imported rigs

Deploy Task
Click “Task”

Then “Click Computer Task” -> Start Computer Task -> select workers for Deploy
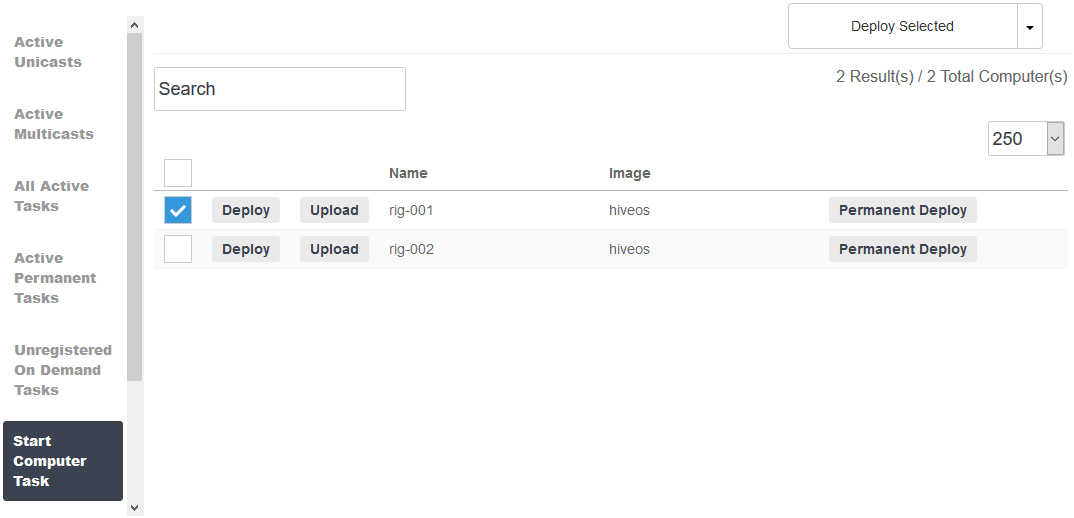
and press “Deploy Selected”.
Deploy process rig side
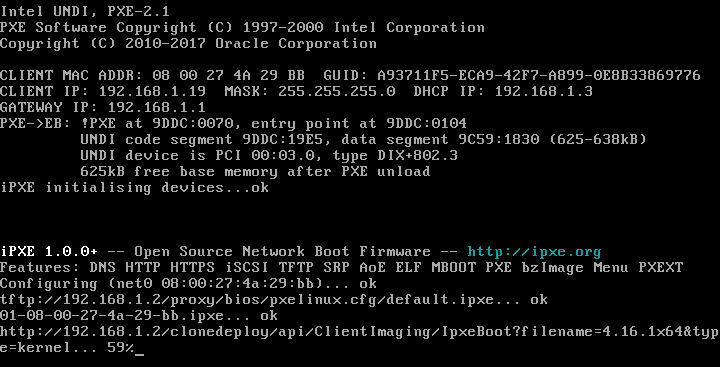
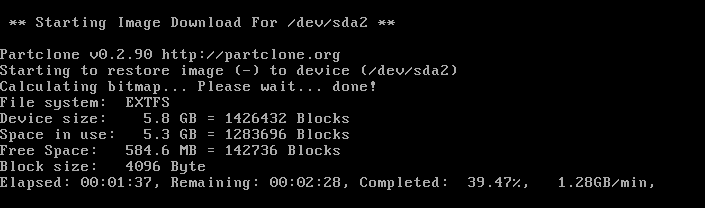
Progress can be followed through the browser

After downloading the necessary files, Hiveon OS Deploy will flash the Hive image to the storage device
After the flashing process, the rig will reboot automatically followed by a boot menu with default target “Boot To Local Machine” which will boot your rig after a 5 second delay

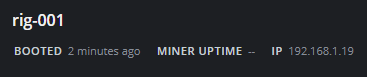
When the boot process is done, we’ll be able to see our rig on the Hive Dashboard
Appendix
install-ubuntu.sh- script for install Hiveon OS Deploy PXE script options

download.sh- script for upload new images to Hiveon OS Deploy PXE


