


How to install Hiveon Firmware via SD install method
Be honest, you have days when you just want to push your ASIC miners harder. Reach higher hashrate with lower power consumption and boost the miners’ performance for more gains. But there’s only so much the stock firmware can do that you want to give custom firmware a try.
In this guide, I’ll show you the step-by-step process of installing custom Hiveon ASIC Firmware that’ll help you stay ahead of the game. We’re talking about an up to 30% hashrate increase here, so let’s get down to business.
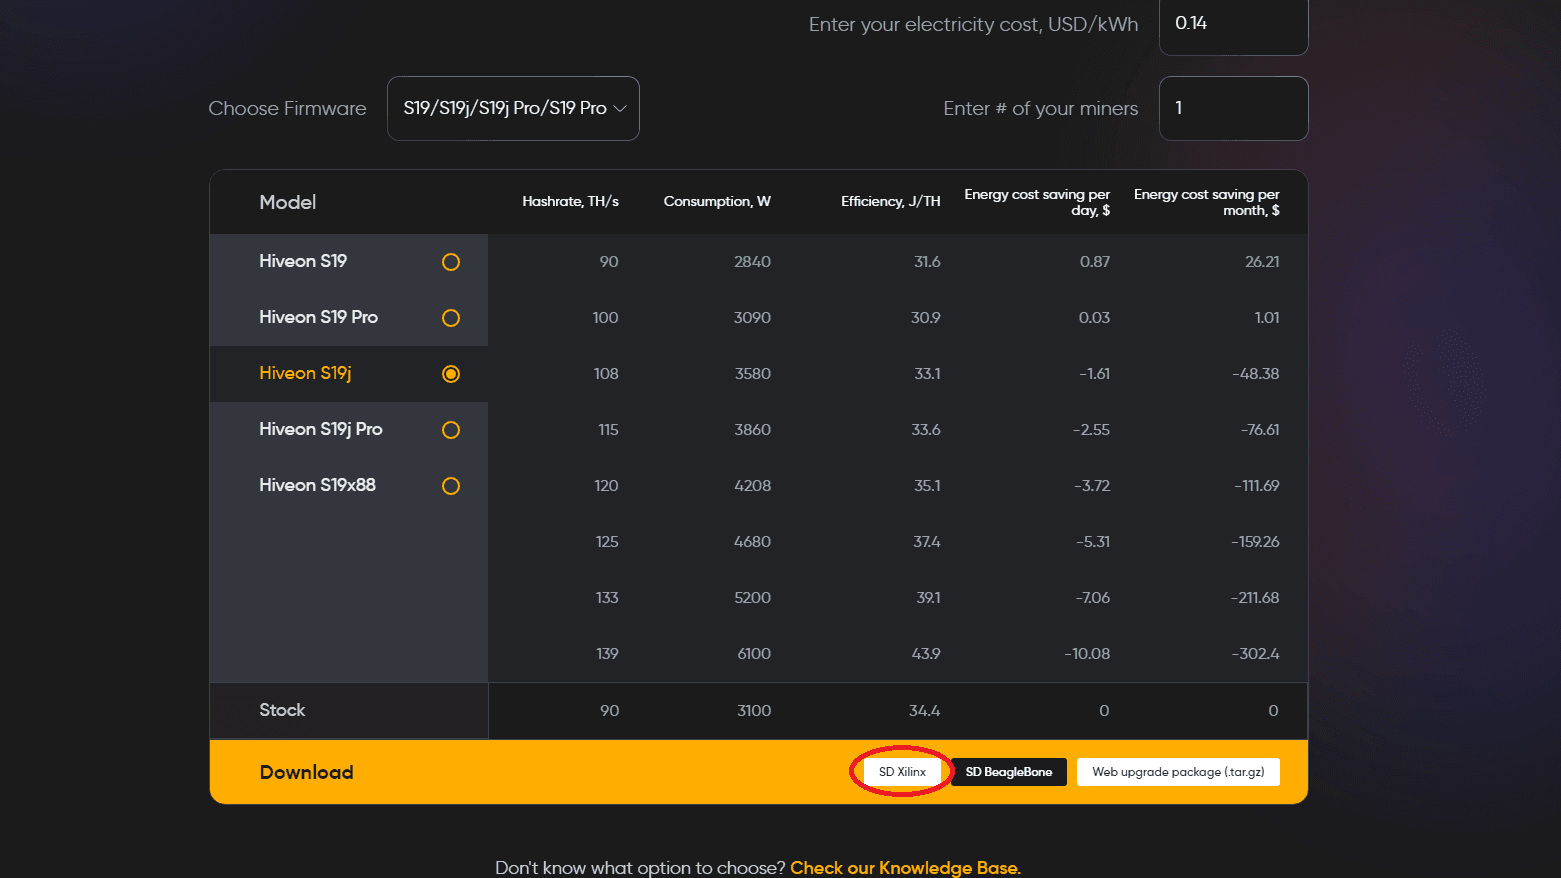
Step 1: Download Hiveon SD files
Go to the Hiveon ASIC Firmware page and choose your correct ASIC model and control board type. Not sure which control board you have? Refer to this guide explaining how to visually identify the control board types.
Download the necessary Hiveon SD files to your computer. Make sure you know the location of those files in the download folder (this will be needed in further steps).
Note Practice shows that some firmware versions work well on multiple miner models.
- Bitmain’s S19 Pro miners with 126 chip hashboards and less than 110 TH (e.g. S19 Pro 96 TH/100 TH/104 TH) will most likely work with the “j Pro” firmware version instead
- S19 Pro firmware works with most S19 Pros that have 114 chip hashboards (e.g. S19 Pro 110 TH)
- S19x88 firmware works with most S19s equipped with 88 chip dashboards (Bitmain labels vary from S19 84 TH/86 TH/87 TH/90 TH)
- S19 firmware works with most S19s equipped with 76 chip hashboards (Bitmain label S19 95 TH).
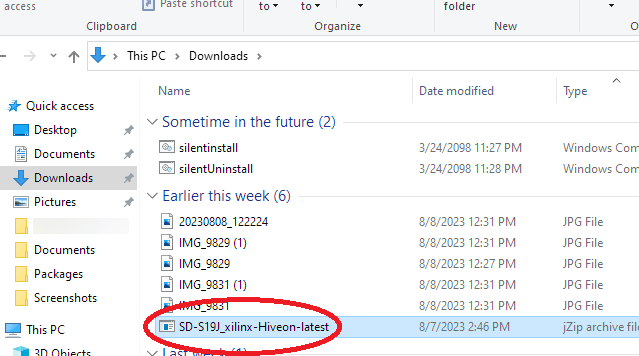
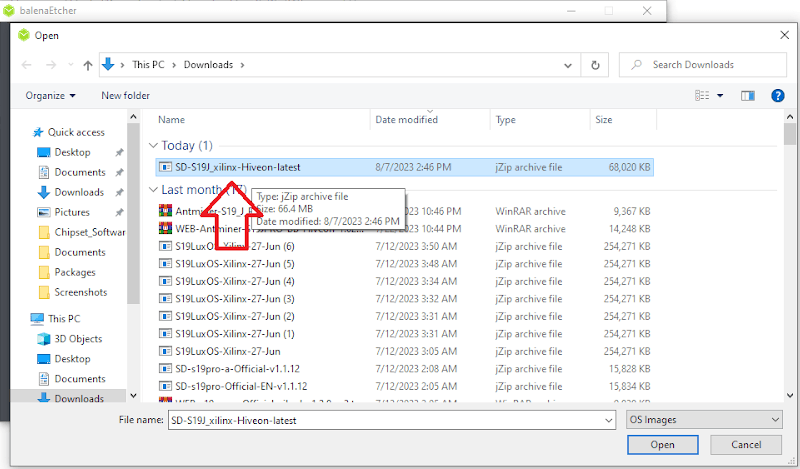
This picture shows how the download will look like on your device once it's completed.
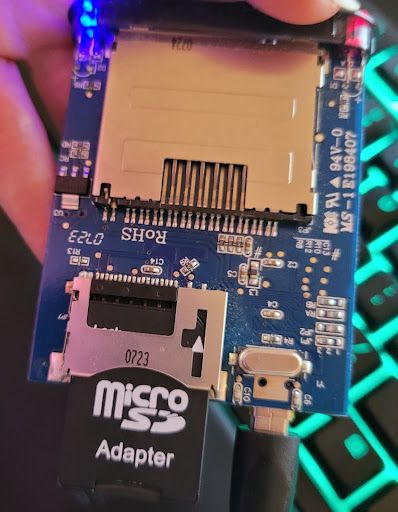
Step 2: Insert the SD card
Put the SD card into the MicroSD Adapter and into the SD card reader device. Plug the SD card reader into your PC and then go to your files.
Step 3: Format the SD card
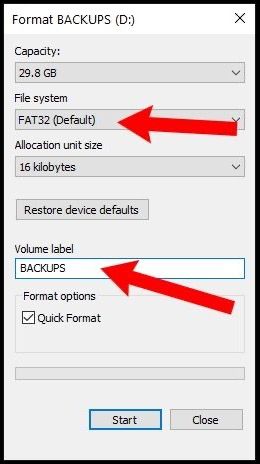
Format the SD card to FAT32 with MBR (Master Boot Record) partition scheme.
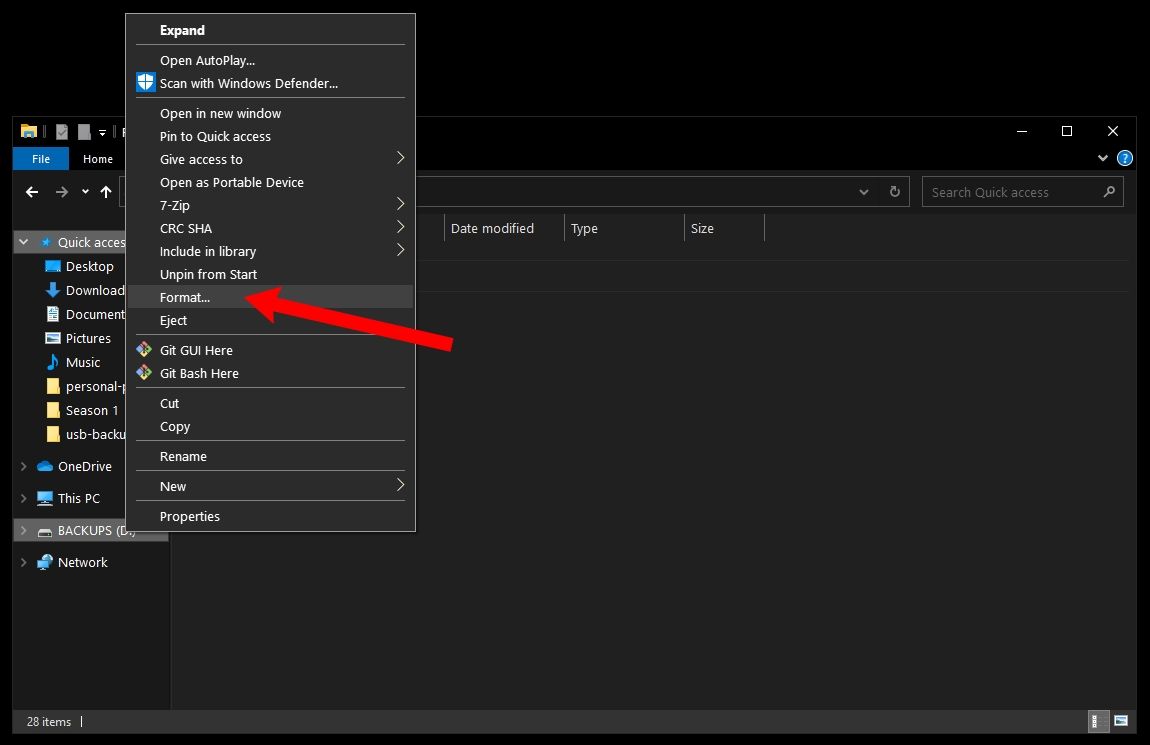
On your disk, select the options as described on the screenshot below.
Step 4: Edit the SD files
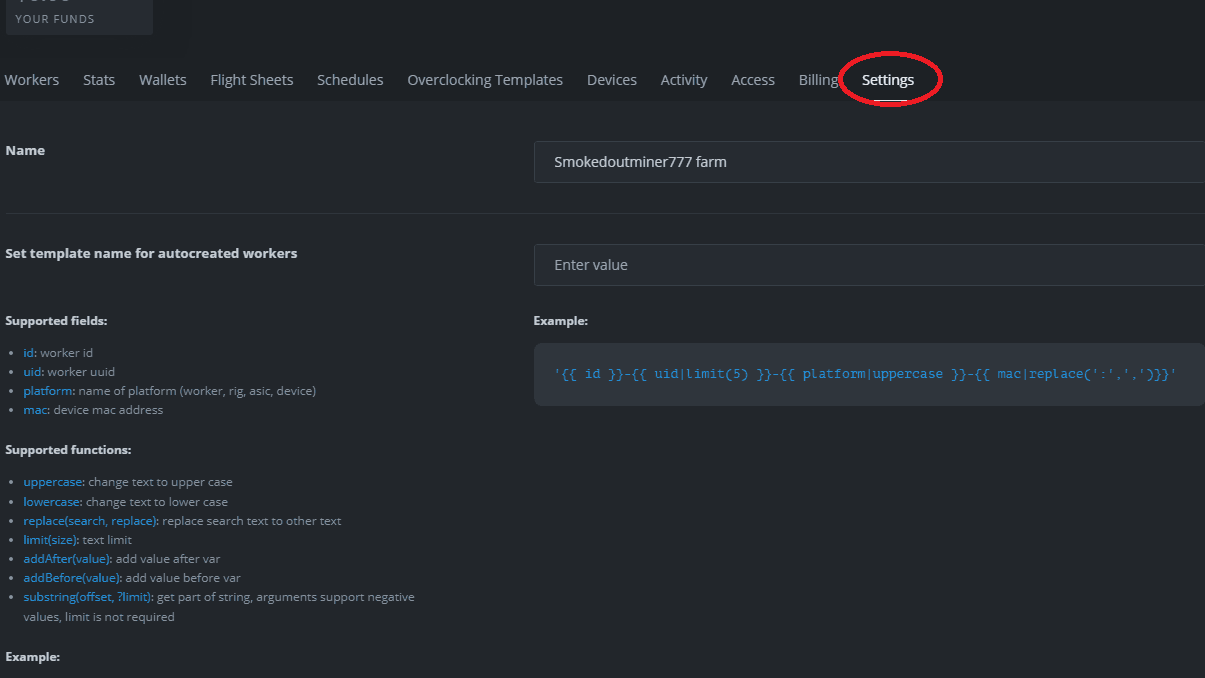
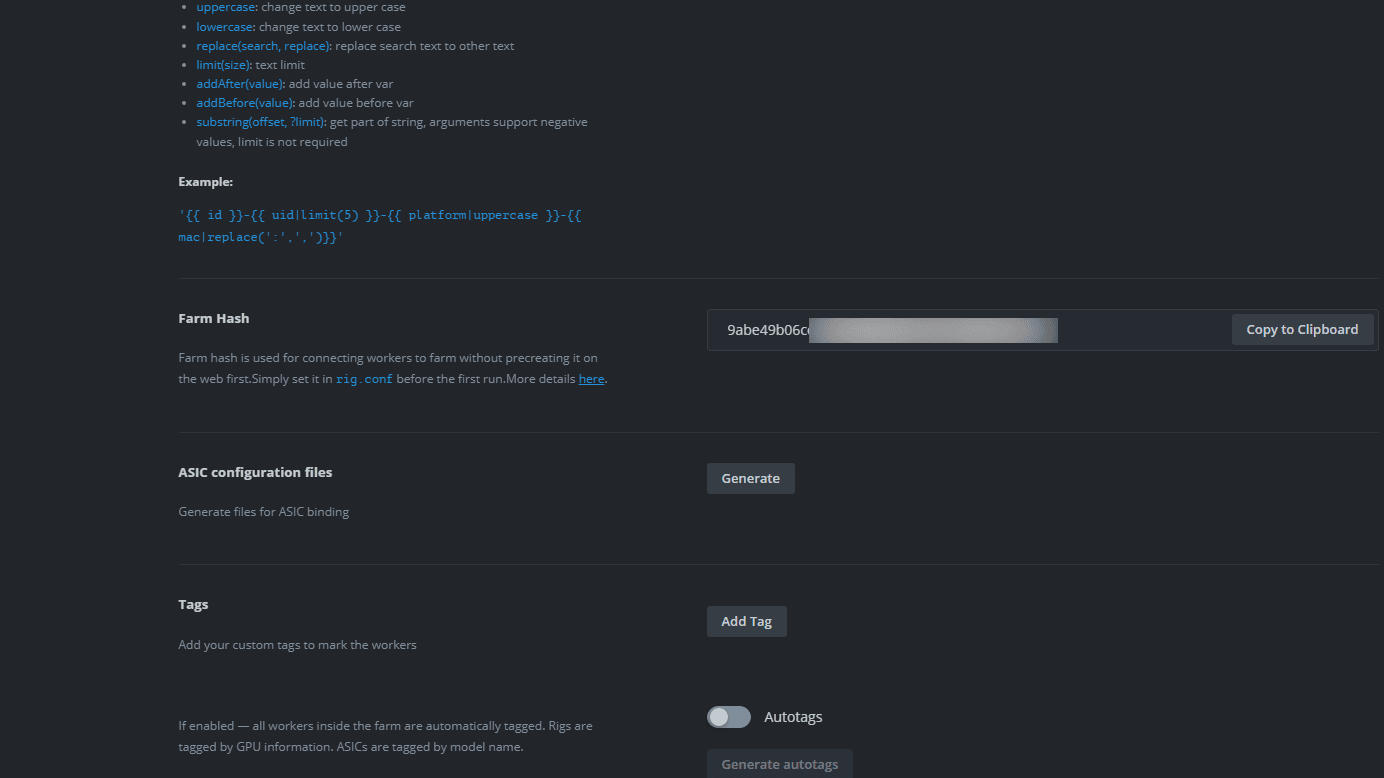
Open Hiveon OS, go to the Settings tab, scroll down, and copy your farm hash. Remember the Hiveon SD files you downloaded in step 1? Now’s the time to open that archive.
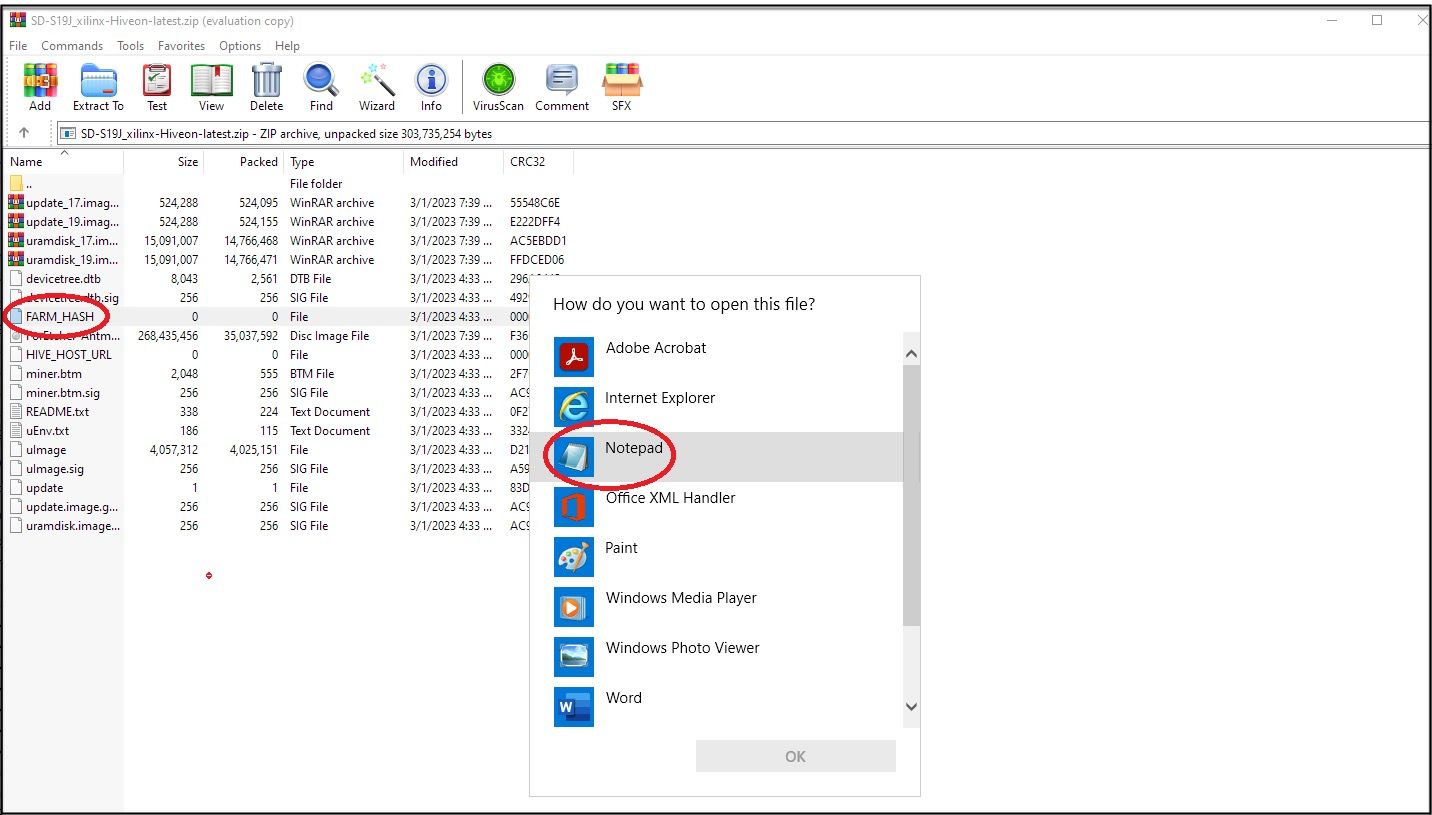
In the archive, find and open the FARM_HASH file. It’s empty upon download because, obviously, you need to paste your own farm hash to it. This will sync your miners with Hiveon OS.
Don’t forget to save the file in the same place once you’ve edited it.
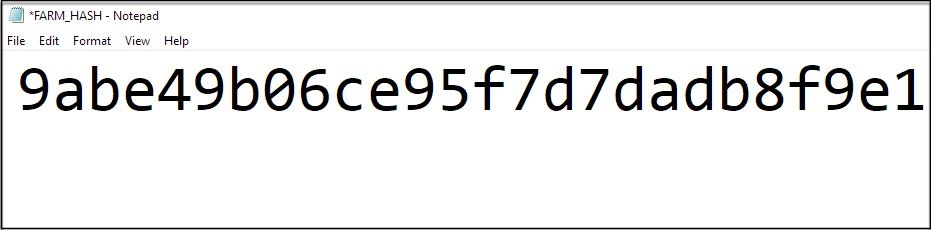
Next, unzip the xilinx archive and use the Notepad to open FARM_HASH file.
An example of the Farm-Hash ID.
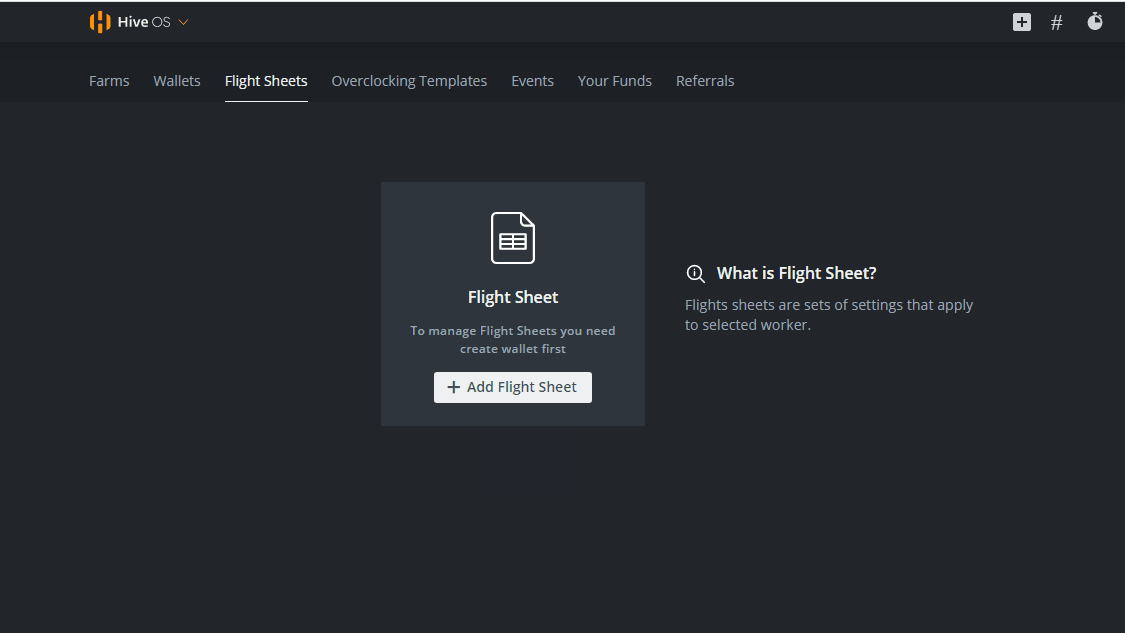
Step 5: Create a Flight Sheet
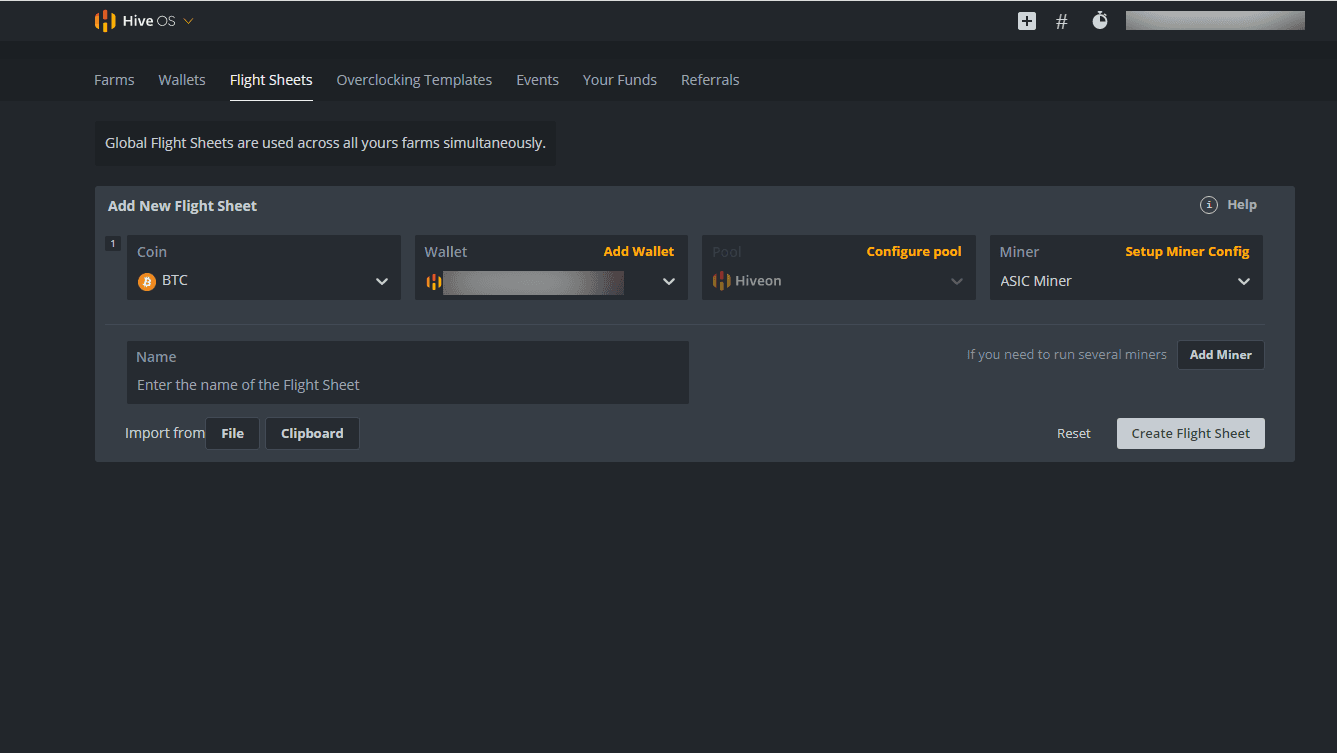
Prepare the ground for optimized mining on Hiveon OS with pre-configured pool settings. Create a Flight Sheet and set it as default. This will immediately enable your ASIC miners to mine with that Flight Sheet.
Note: When creating Flight Sheets, the Wallet field can have some variations depending on the pool that users choose. For this field, it is either the Pool login/Worker name or your actual crypto wallet address. The latter applies if the pool of your choice uses wallet addresses instead of worker names to assign ASIC miners.
Next, set the newly created flightsheet as a default one.
You may also be interested in How to start mining on Hiveon Pool.
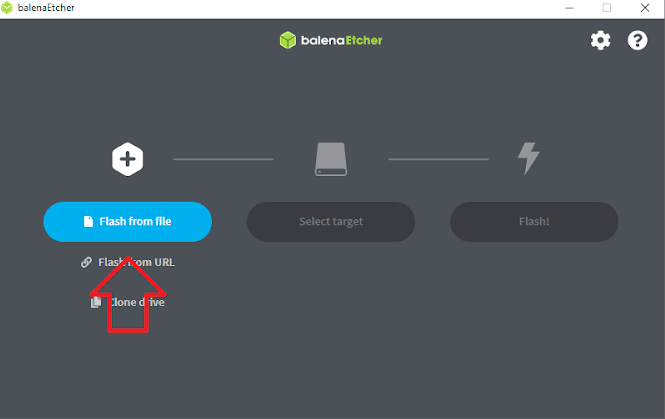
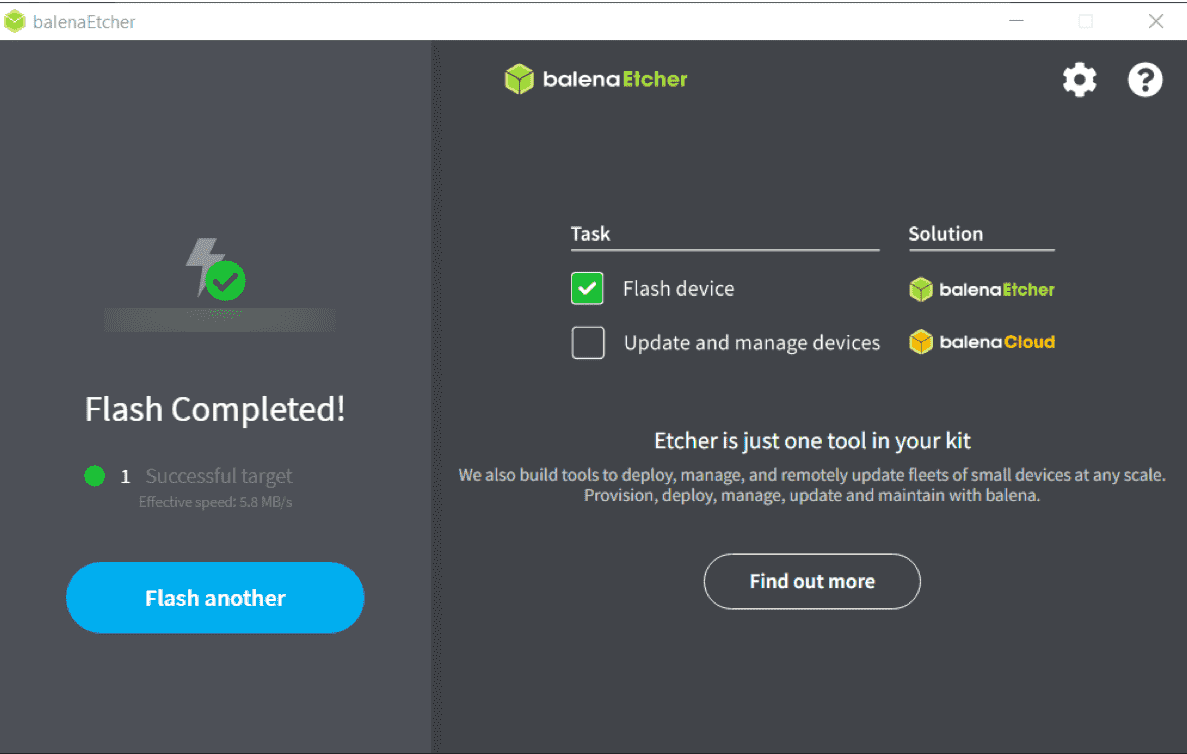
Step 6: Flash the Hiveon SD image
Open the balenaEtcher app and click Flash from file. Select the Hiveon SD image file you downloaded in step 1 and edited in step 4. Wait for the flashing process to finish, then remove the SD card from the adapter.
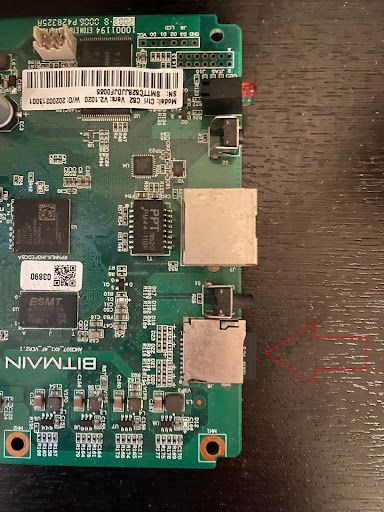
Step 7: Insert the SD card into the miner
Make sure the miner is powered off and insert the SD card into its control board. Once the SD card is inserted, power the miner on and leave the SD card inserted in the control board permanently. Don’t pull the SD card out — if you do it, the miner will simply revert back to stock firmware.
Note: Make sure the SD card is properly seated in its slot or else the firmware may not load correctly. You’ll hear/feel a clicking noise when the SD card is in place.
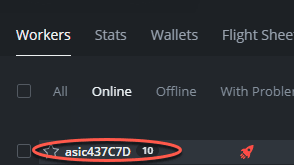
Step 8: Start mining
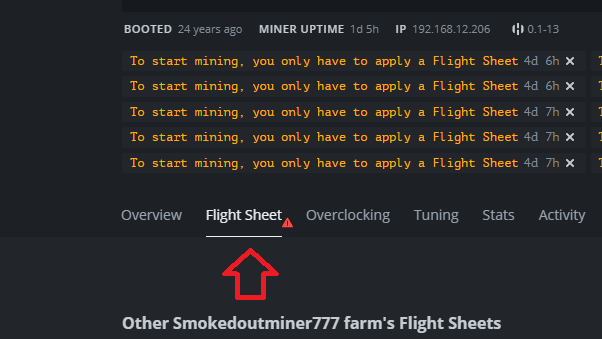
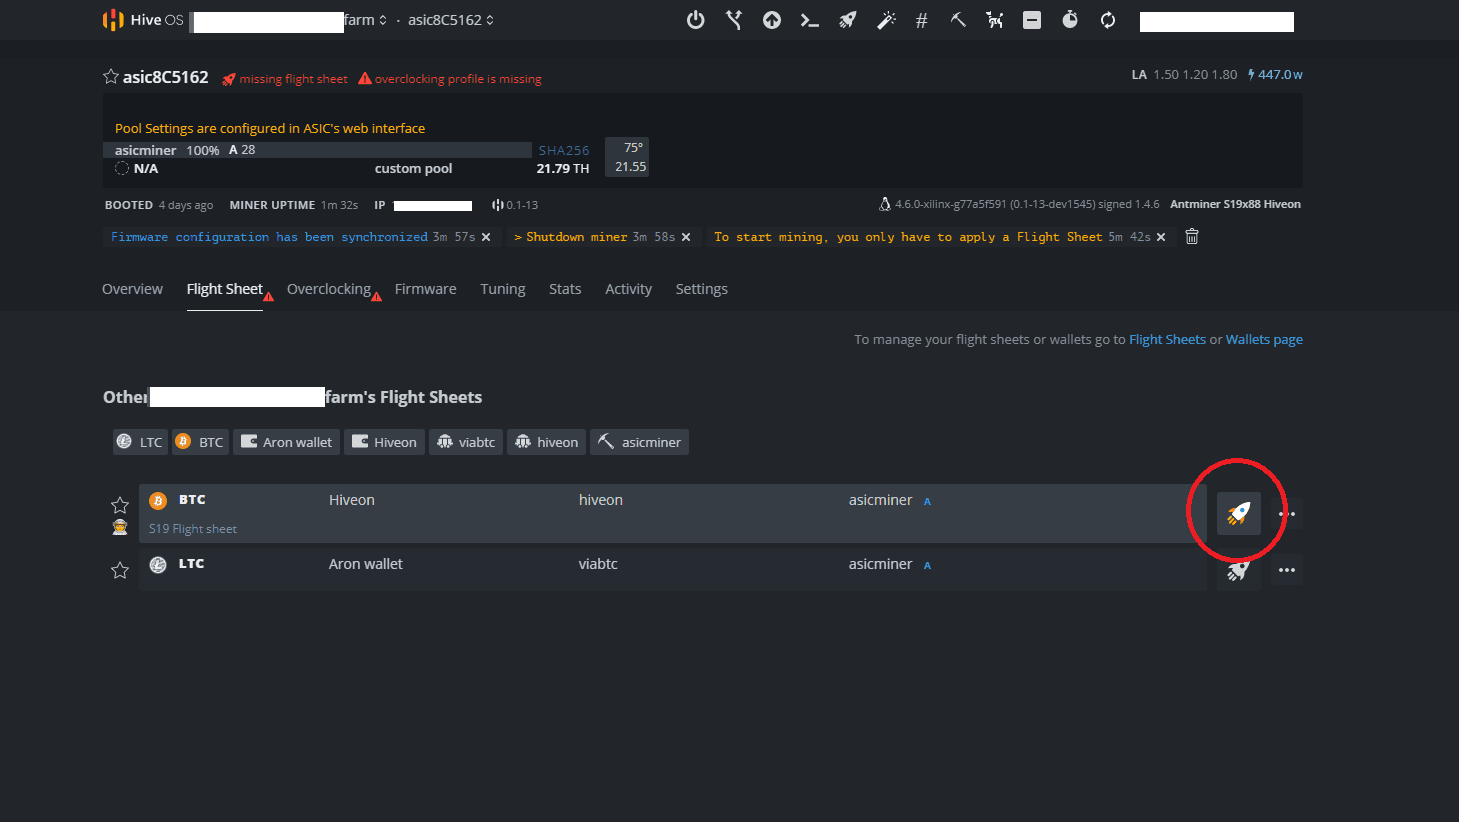
Let the miner run for a few minutes to flash the firmware. Go to your farm in Hiveon OS — the miner should pop up in the Workers tab. Click on the miner’s name and if you didn’t set a default Flight Sheet previously, you can apply it on the Flight Sheet tab. Click on the rocket button to apply whatever Flight Sheet you need, whenever you need it.
Your miner is now flashed with Hiveon ASIC Firmware and properly configured to mine. Monitor, automate, and control it remotely via Hiveon OS interface for the best results.
A couple more FYIs:
-
Sometimes, if the ASIC was previously flashed with other custom firmware, it is best to perform a factory reset before flashing it on Hiveon Firmware.
Refer to Bitmain’s factory reset guide for detailed instructions.
-
Changing Flight Sheets will briefly restart the miner.
-
We can provide remote Hiveon Firmware installation (no SD cards needed) for farms with more than 100 ASIC miners. Please email inquiries to [email protected]
P.S. And don’t forget to download the Hiveon OS mobile app so you can take care of your farm on the go from any part of the world.
Happy mining!

